| Exchange 2013 Install Step by Step |  |  |
Exchange Server 2013 is now GA and the requirements surrounding coexistance with older versions of exchange (2007 and 2010) requiring updates to Exchange have almost been released (see below).
Here I will walkthrough the process of installing Exchange Server 2013 single server with both the mailbox and client access roles.
Exchange 2013 can coexist with:
Only if Exchange 2013 Cumulative Update 1 (CU1) on all Exchange 2013 servers in the organization (which is not yet available).
Note: Exchange 2003 and earlier versions are not supported with Exchange 2013.
Update Rollup 10 for Exchange 2007 Service Pack 3 (SP3) - Released
Exchange 2010 SP3 - Released
Exchange 2013 Cumulative Update 1 (CU1) - TBC (2013 Q1 - any moment)!
coming soon?! 2013 Q1
Prerequisites
1. Active Directory Forest and Domain functionaility mode of Windows Server 2003 or higher
2. Domain Controller OS:
3. Exchange Server OS:
4. Do not install Exchange 2013 on a domain controller
5. Exchange 2013 cannot be installed on Server Core. Convert the Windows Server to a full installation:
Install-WindowsFeature Server-Gui-Mgmt-Infra, Server-Gui-Shell -Restart
6. Supported Clients:
7. Install the Windows Feature pre-reqs for the mailbox and client access roles:
Install-WindowsFeature AS-HTTP-Activation, Desktop-Experience, NET-Framework-45-Features, RPC-over-HTTP-proxy, RSAT-Clustering, Web-Mgmt-Console, WAS-Process-Model, Web-Asp-Net45, Web-Basic-Auth, Web-Client-Auth, Web-Digest-Auth, Web-Dir-Browsing, Web-Dyn-Compression, Web-Http-Errors, Web-Http-Logging, Web-Http-Redirect, Web-Http-Tracing, Web-ISAPI-Ext, Web-ISAPI-Filter, Web-Lgcy-Mgmt-Console, Web-Metabase, Web-Mgmt-Console, Web-Mgmt-Service, Web-Net-Ext45, Web-Request-Monitor, Web-Server, Web-Stat-Compression, Web-Static-Content, Web-Windows-Auth, Web-WMI, Windows-Identity-Foundation
8. Download and Install Microsoft Unified Communications Managed API 4.0
9. Download and Install Microsoft Office 2010 Filter Packs
10. Download and Install Service Pack 1 for Microsoft Office Filter Pack 2010 (KB2460041) 64-bit Edition
Thats all the prerequisties dealt with..
Install Exchange Server 2013
After the prerequisties are in place the installation is actually very straightforward.
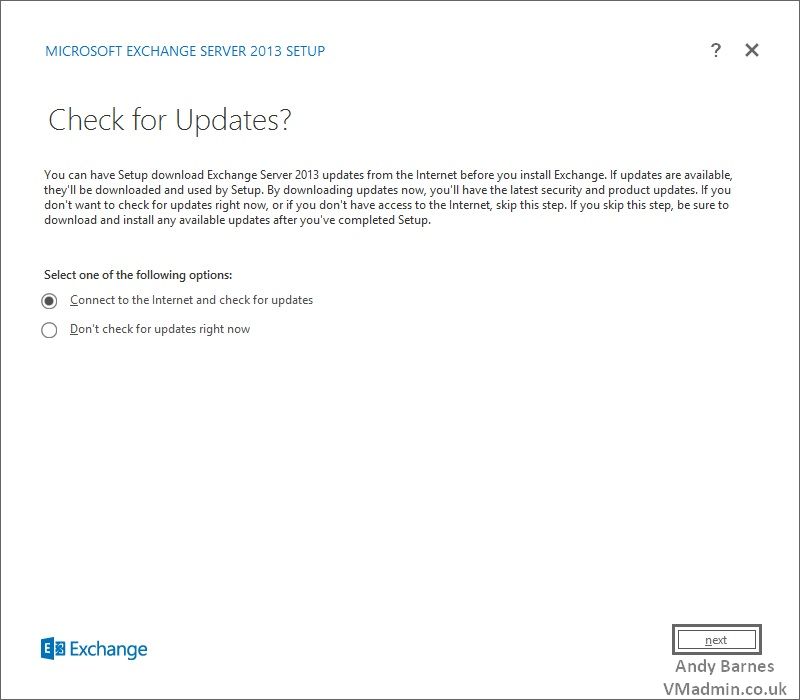
1. Run the Exchange Server 2013 Setup and select connect to the internet and check for updates (to ensure you have the latest exchange updates if any exist).
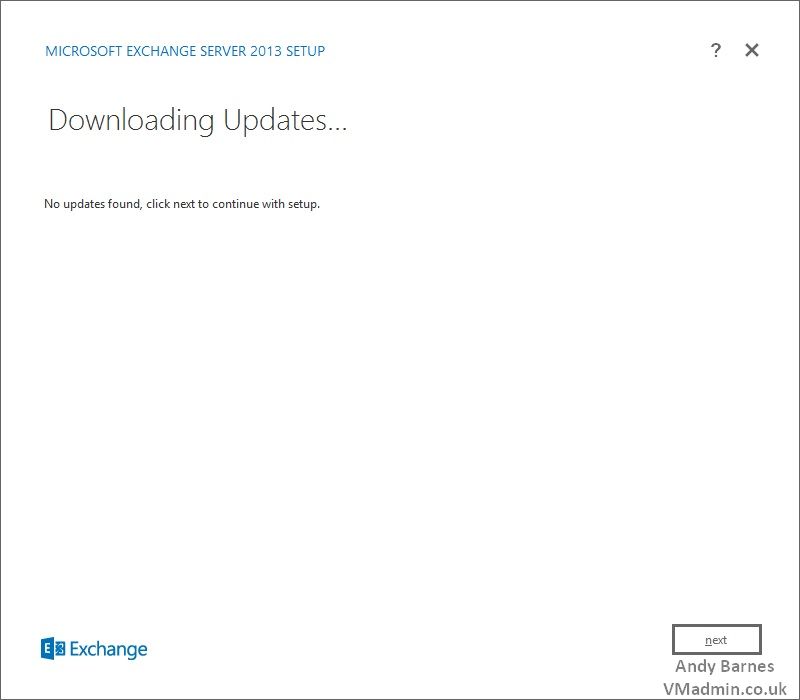
2. Updates will be downloaded if any apply. Click Next.
3. The installation files will be copied locally from the setup progam.

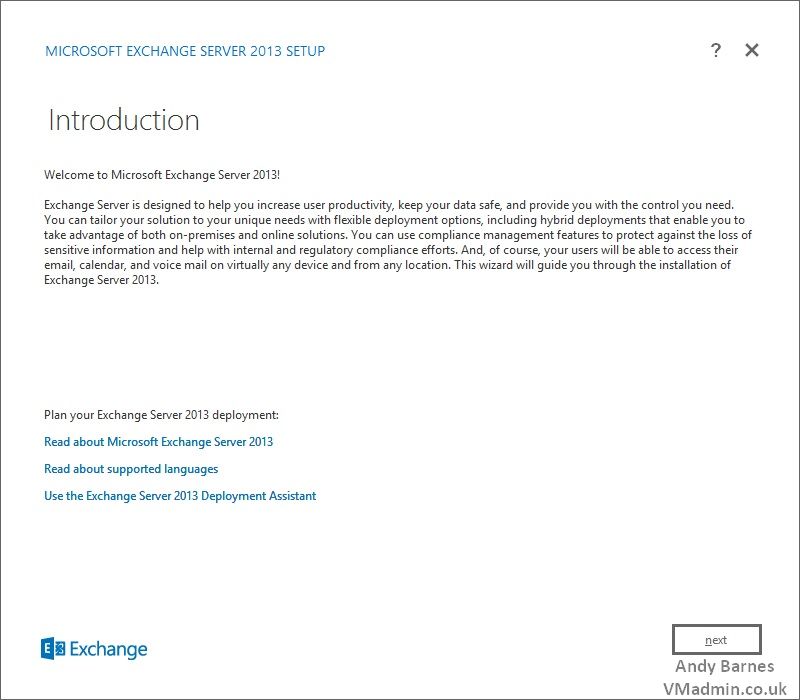
4. If you need to do so read the supporting deployment information.
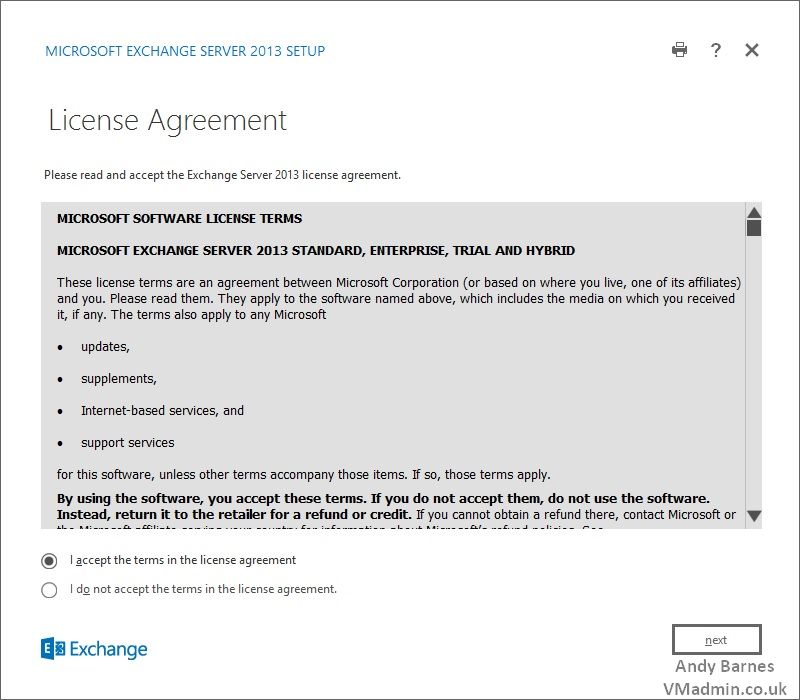
5. Read and accept the license agreement. Click next.
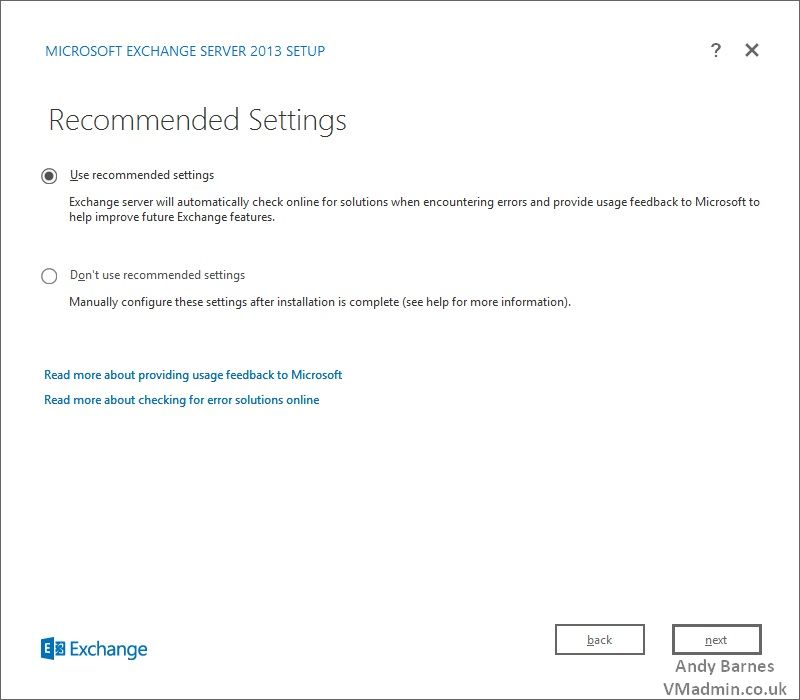
6. If you wish to do so select recommended settings and send info to Microsoft about errors during installation and usage feedback. Click Next.
7. In the Server Role Selection section, you need to select the Mailbox and Client access roles.
The management tools will be installed automatically.
Additionally select to automatically install Windows roles and features are required (We did this in an earlier step).
Click Next.

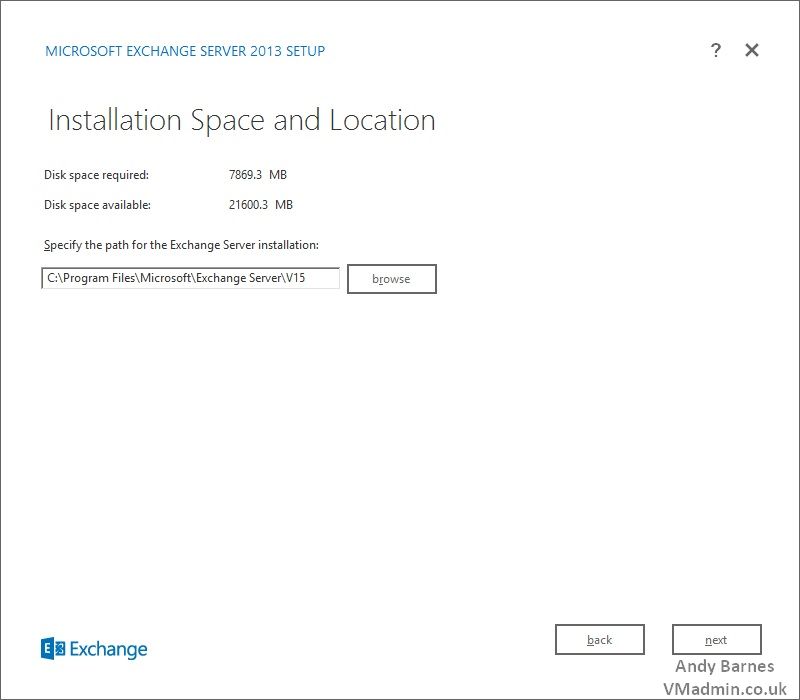
8. Select the installation location and Click next.
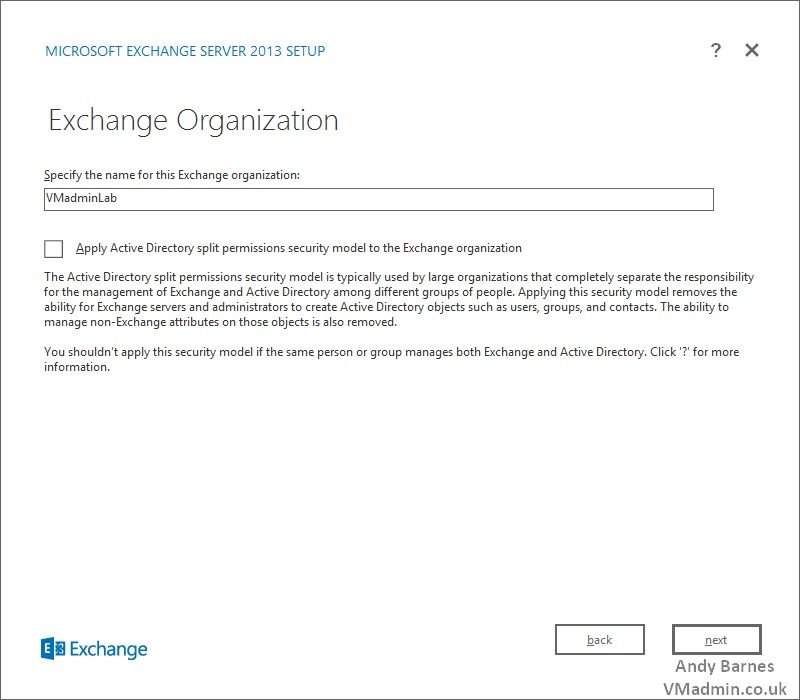
9. Enter a name for your exchange organisation.
10. Leave unticked the apply active directory split permissions security model.
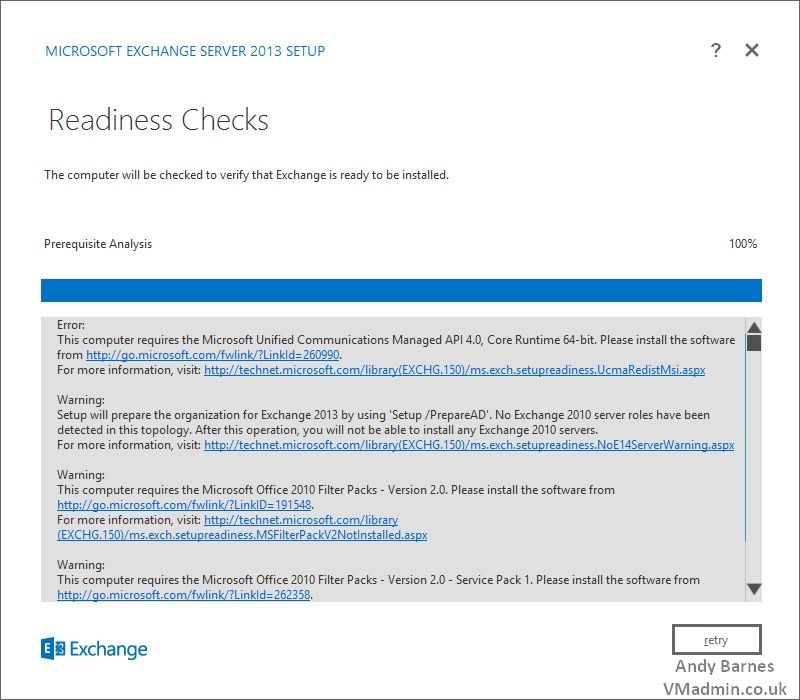
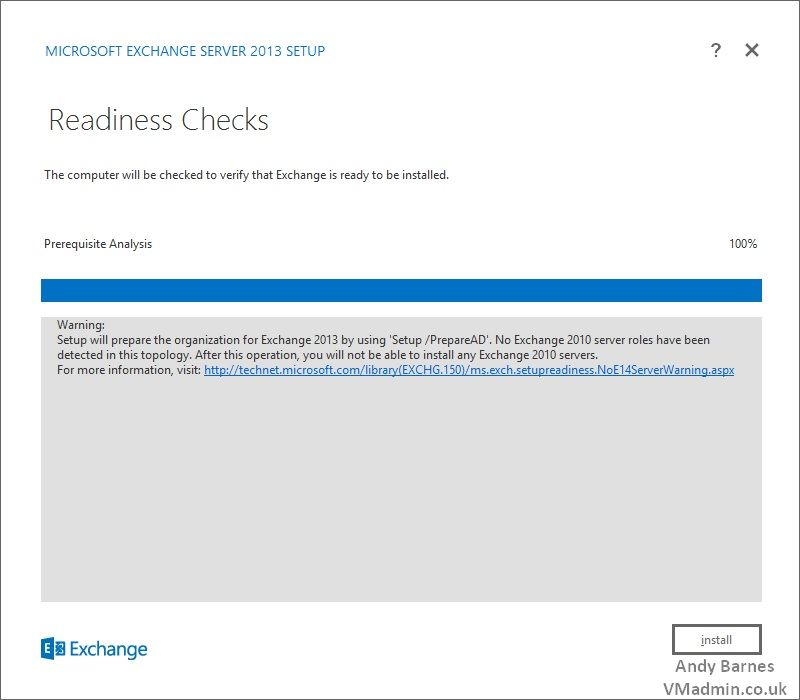
11. Setup will configure any prerequites and verify exchange is ready to be installed.
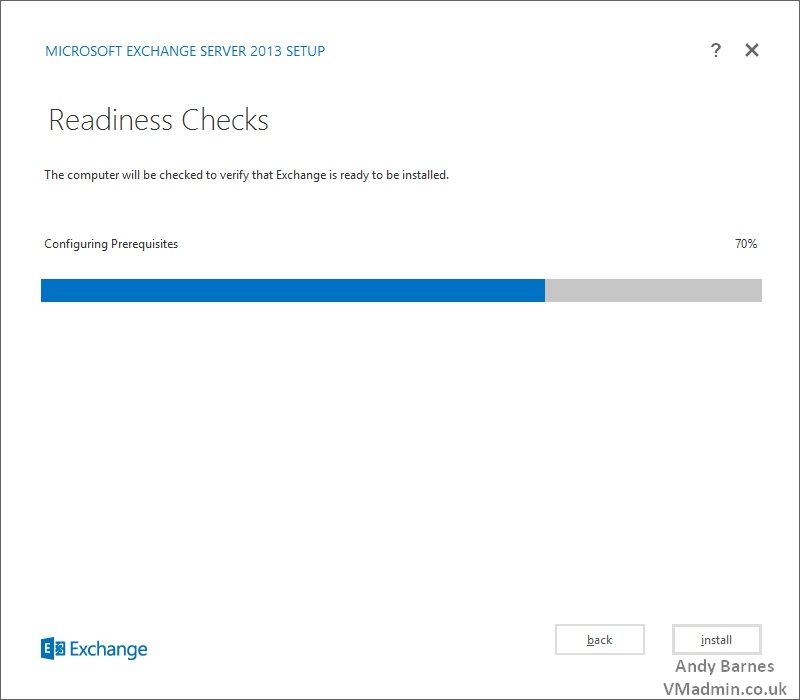
12. Once the checks are complete, Click Install.
13. If you find any prerequisties missing, the installer will detail anything you need to install and provide the links.
Resolve the missing prerequistes and click retry.
14. Exchange will then warn you that is will prepare AD for the Exchaneg 2013 organisation installation.
Note: You will not be able to install any Exchange 2010 servers if this is a new Exchange organisation installation in the domain.
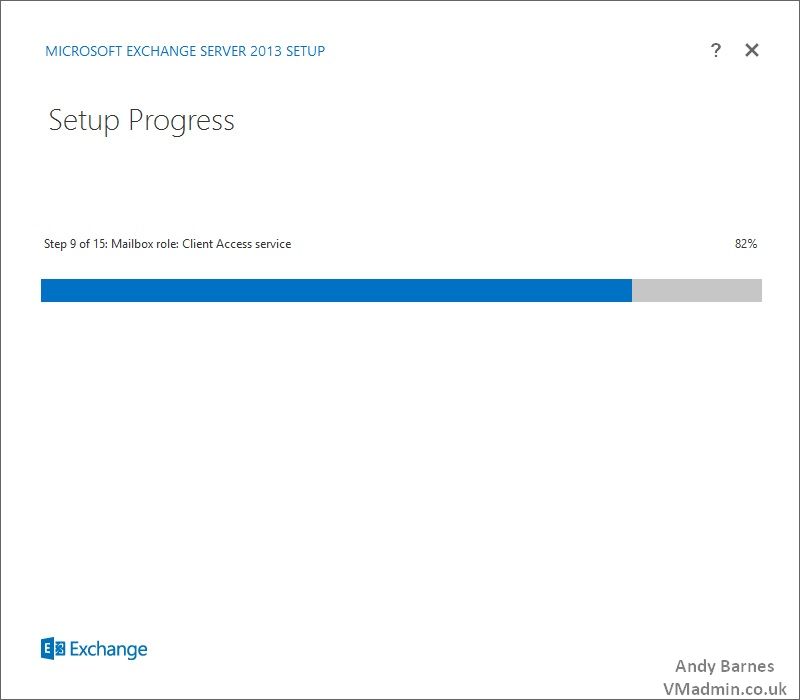
15. Exhange Server 2012 will install..
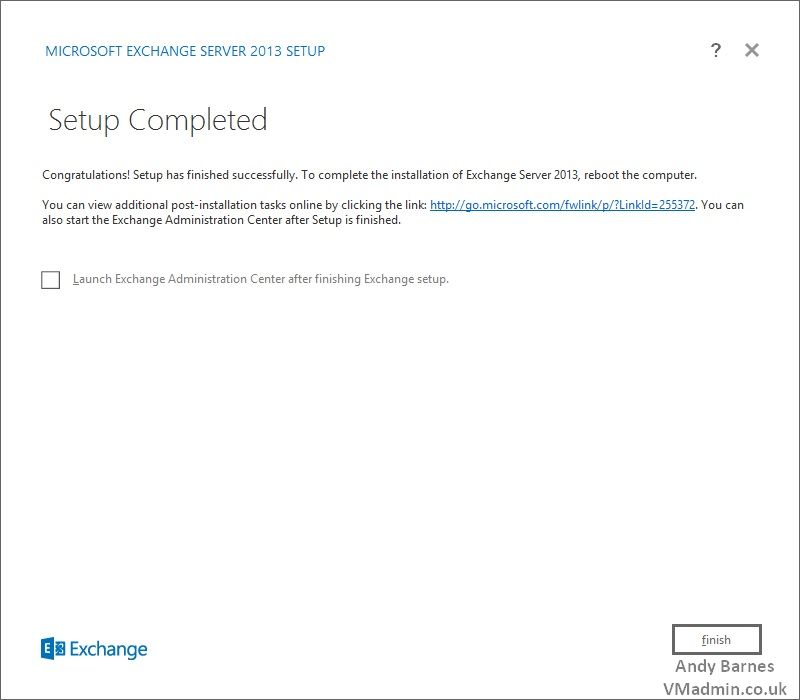
16. When installation completes you need to reboot the server before you do anything else.
After you have restarted the server you can then begin to manage you Exchange 2013 server.
Details on this will be follwed up in future posts.
 |
No comments:
Post a Comment