Hello All
Part 4 of the 6 part series on how to install and configure a fully functional Lync 2013 enterprise edition deployment.
Please check out the other parts at the links below
Following on from the above links to my complete Lync 2013 installation guide, below are the details on how to set up a Lync 2013 edge server for federation and remote access. PART 5
Info for your understanding
- My edge server is built on Windows 2012 and will be called Lync2013edge
- I WONT be using NAT’ing in this Lab.
Internal server IP address 10.37.129.4
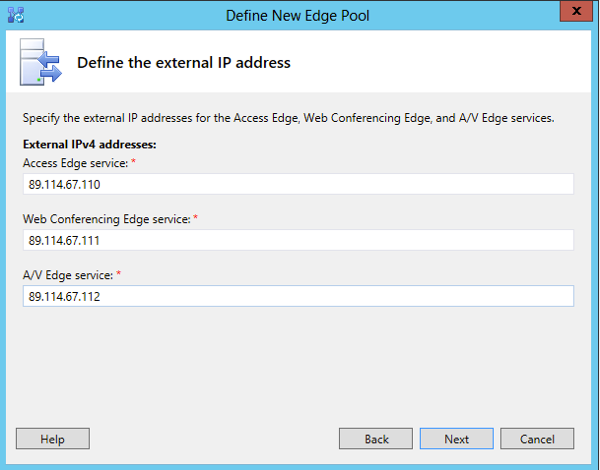
- I will be using 3 External IP addresses
89.114.67.110
89.114.67.111
89.114.67.112
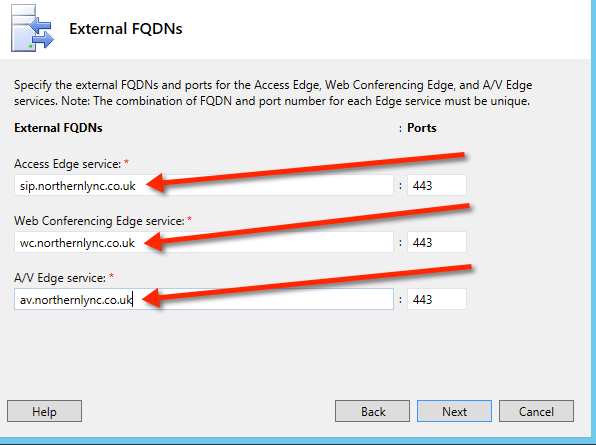
Externals Names
- sip.northernlync.co.uk
- wc.northernlync.co.uk
- av.northernlync.co.uk
Edge Server PreReqs
- .Net 4.5 for from the Windows 2012 Roles and Features
- Powershell 3.0 (Part of Windows 2012 Server)
- Windows Foundation Feature http://go.microsoft.com/fwlink/p/?linkId=204657
- Copy of the Lync 2013 installation files locally to the edge server.
So to note: As part of the installation, the edge server is within my DMZ and not attached to the northernlync.local internal domain. We need to do a few things to prep the server ready for the edge install.
Prep 1
Adding the DNS suffix to the edge server even though its part of a workgroup.
goto the server properties and add the name of your server, then select ‘more’ and add the DNS suffix of your internal domain. In this lab case thats northernlync.local
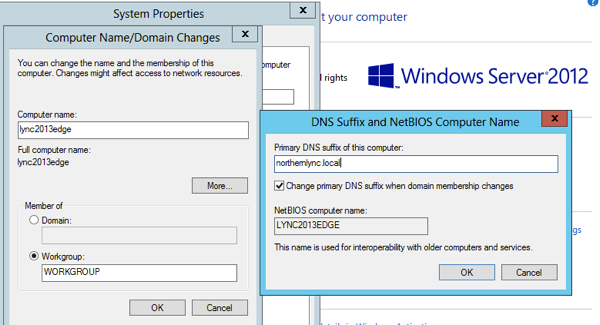
Once you’ve rebooted your server, and also copied over the Lync 2013 media locally you are set to start the installation.
What we will do next is add the information into the Lync 2013 topology
————————————————————————————————————————————————————————————————————————————————————————
Lync 2013 Topology Update
Ok so lets move onto the update requirements within the topology
Firstly open up your topology on your Lync 2013 frontend. (I won’t screenshot how to open up the topology then download/save as i would expect you to know this by now)
Adding your edge server to your topology
Firstly navigate down your topology site and right click on the ‘new edge pool’ option
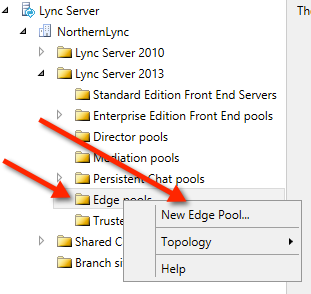
Once you’ve right click, next through the first welcome page until you get to add the information about your edge server.
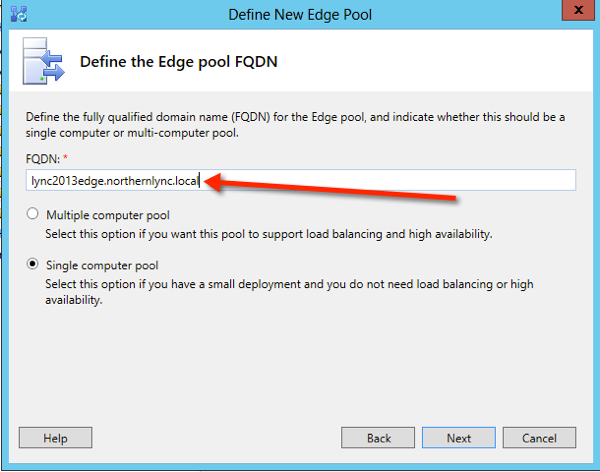
On the next page you have a few options.
- Use a single FQDN and IP address
- Enable Federation 5061
- Enable XMPP Federation
For this lab and i guess for the majority of Lync installations you would only have to select one option which would be ‘Enable Federation 5061′
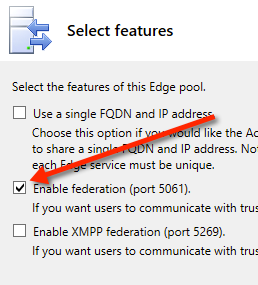
On the next dialog page, you have the option for NAT’ing and also for using IPV6.
For this lab we won’t be using NAT’ing or IPV6. Therefore i will be accepting the defaults.
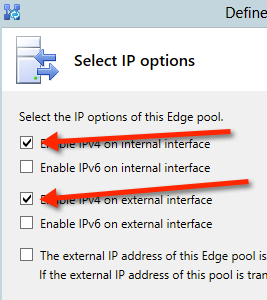
Next is to add information about your external FQDN names
(to recap my internal domain is northernlync.local and my external domain name in northernlync.co.uk)
Once you’ve added your names, press next
If you are NAT’ing at the next screen you will be asked to add the internal NAT’d IP address.
In our case as we will not be NAT’d we are prompt to add the Internal IP address. Once you’ve done this press next
Now add your external IP addresses for each area required, then press next
Select your next hop Lync 2013 pool from the drop down and press next
Then select the pool to associate with the edge server for connectivity. this is usually the same pool as your next hop pool from the previous page.
Then click finish.
Then publish your topology
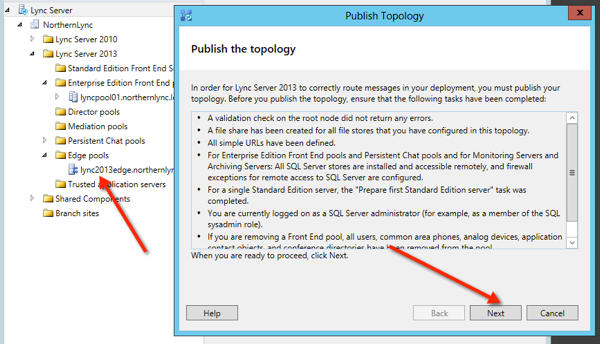
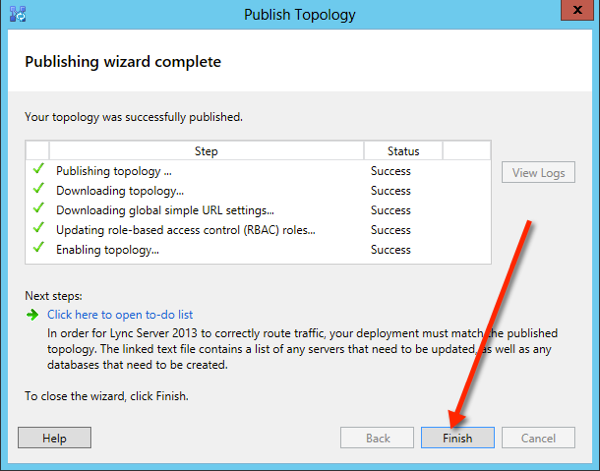
Now we are almost finished on the Lync Frontend.. the last item we need to do i copy over the cms configuration to the edge server for population.
Using the below command export a copy and move it over to your edge server
Export-csconfiguration –filename c:\topology_export.zip
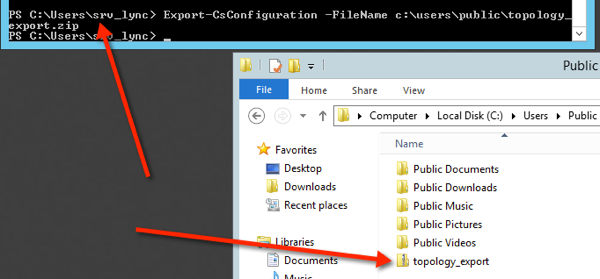
Now copy that .zip file to edge server
We are now finished on the Frontend topology.
While we are still on the FE01 lets add the required permissions to the control panel groups for edge enablement
————————————————————————————————————————————————————————————————————————————————————————
Adding permissions into the Lync Control Panel
Once your in the control panel, select the option ‘federation and external access’ tab on the left pane
Double click or select the global option, then select the options you want.
In our lab demo I’m select federation, remote access and PIC
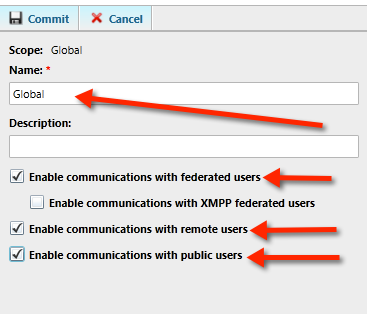
Also based on the information your require i.e.: open federation etc, you will need to configure the other tabs within the control panel.
for this demo we are going to go open federation.
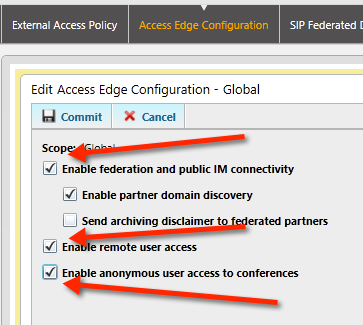
We are finished now on this we are allowing open federation throughout our demo lab edge setup
————————————————————————————————————————————————————————————————————————————————————————
Running the installation on the Lync Edge server to add the required components
Run the setup and you would normally do and get to the point of the deployment wizard panel
then select ‘Install or Update Lync Server system’ option
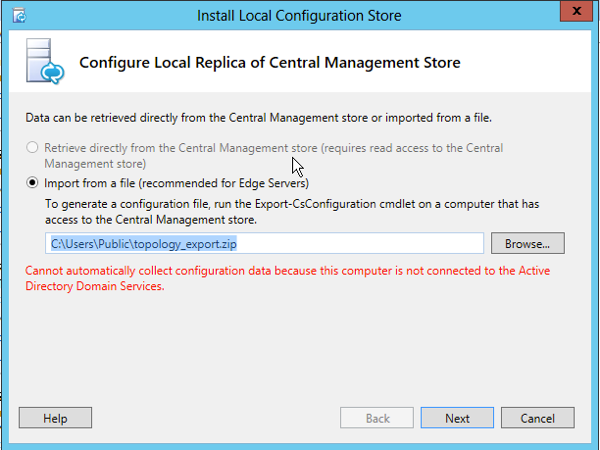
Then select and complete step 1, and select the .zip file for the csconfiguration when prompted.
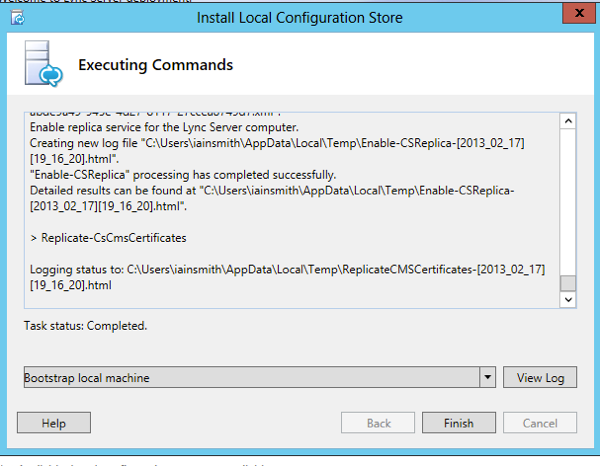
Now that this has finished with success, run step 2, click next
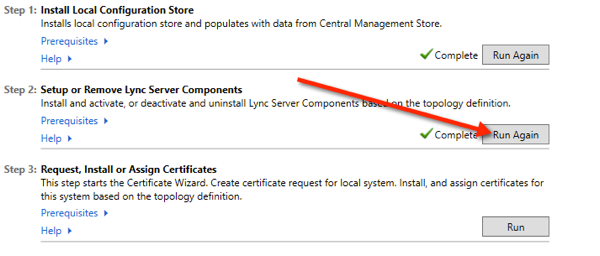
Now run step 3 and arrange for your internal certificate to be prepared offline as we don’t have access to the internal CA as we are not within that domain on our edge server
prove a location for the .txt file
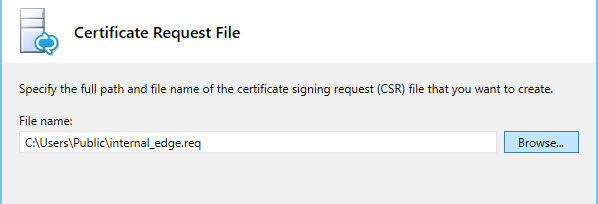
Next through the next screen, then give your vert a friendly name.. in our case I’m going to call it Lync2013Edge. (there is no need to mark it exportable, as we are using a single edge server)
now give it your company name, and location, then next
Ensure you subject name is your Lync server name, then select next
Next page we don’t require any additional subject names, proceed to select next
then next, check your information then again select next
you will then get a txt file like the below.
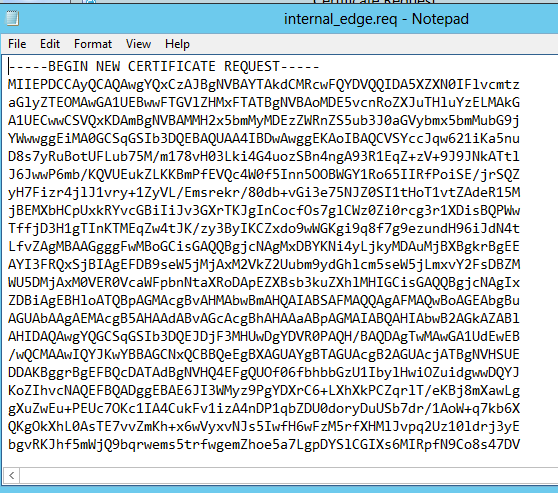
At this point run this through your CA web portal. then assign the certificate
—– Public Cert
Now do the same with the public cert, then pass this to your public CA ie: go daddy, comoro etc.
then assign to the public certificate
Now start the services and test.!
Useful tips and tools for edge
check the replication status – you can validate the replication of configuration information to the edge by running the Windows PowerShell Get-CsManagementStoreReplicationStatus cmdlet on the internal computer on which the Central Management store is located
Remote Connectivity analyser https://www.testexchangeconnectivity.com
Thank you for looking. and i hope the above makes sense and provides you with a functional edge topology.
No comments:
Post a Comment