Getting Ready to Virtualize the Server
There are a number of ways to do a P2V conversion. For example, Acronis and Shadow Protect both have hardware-independent restore options for their backup tools. System Center Virtual Machine Manager has a wizard that will do most of the work for you. Even the 2010 version of System Center Essentials has a P2V wizard. I don’t use any of those tools, so I decided to use SysInternals free Disk2VHD utility. I had used it quite successfully before, and given the price, it was a natural choice for the Frugal Admin.
One of the decisions I had to make was where to save the VHD file that Disk2VHD generated. I had a choice of direct attached storage, or a network share. I chose to store the file locally, since that would result in the fastest transfer time. I could have saved it directly to the Hyper-V server which would have saved the time to copy the file over later. But I wanted to keep the original capture intact on the source server – just in case. This particular server didn’t have an esata connection, so I opted for an extra Hard drive installed in the original box.
Stopping Services before the Conversion
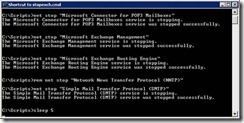
Since this was an SBS 2003 box, it had Exchange 2003 and Windows SharePoint services running on it. I chose to stop the various Exchange services before running Disk2VHD. I used Charlie Russell’s stopexch script to do this.
I did this for 2 reasons. First, with Exchange stopped, no email would be flowing into the server. Secondly, I figured that with the Information store unmounted, it would be in a more consistent state when Disk2VHD did a VSS snapshot of the Data volume where the Exchange store was located. I don’t use SharePoint on my server, but if I did, I would have stopped the SharePoint services as well.
Disk2VHD – 1st Attempt
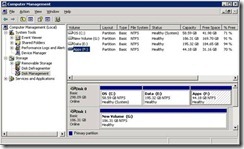
So I opened up Disk2VHD on the SBS 2003 server and prepared to run the conversion. Initially, I decided that instead of converting the 320GB Raid One array to a single VHD, I would save each partition to a separate VHD file to allow for future expansion and flexibility. So I selected each partition individually and ran the conversion 3 times.
This turned out to be a mistake. I discovered that Disk2VHD converted the whole 320GB disk to a dynamically expanding VHD, but only copied the data for the selected partition. So the first VHD had the O/S partition and 2 raw partitions, the Second VHD had a raw partition, the DATA partition and then another raw partition and the 3rd VHD had 2 raw partitions before the Apps partition. Not what I wanted at all, and something to keep in mind the next time I run the program. So I started over.
Disk2VHD – the Conversion
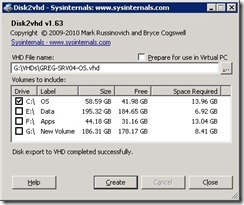
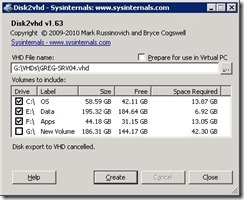
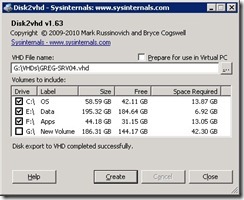
I hadn’t yet shut down the Physical server so I opened up Disk2VHD again. I made sure the O/S, DATA and APPS partitions were selected but not the New Volume where I was storing the new VHD file. Then I clicked the “Create” button.
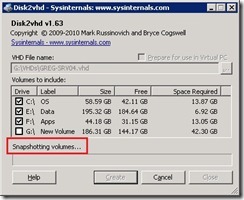
Disk2VHD will use Volume Shadow copy Services to snapshot the volumes that it will be copying.
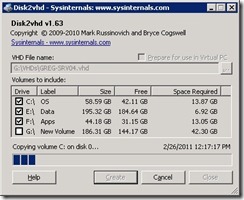
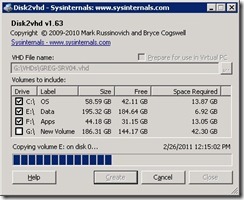
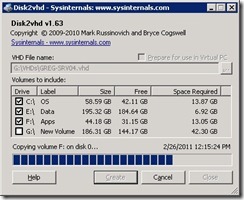
It then copies the data from the selected volumes:
The Disk Export to VHD completed successfully.
Shut Down the Physical Server
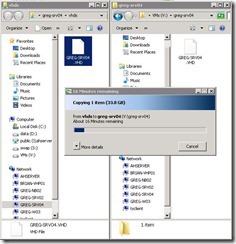
With the physical hard drive contents successfully converted to a VHD file, all that remained was to copy the file over to the Hyper-V Server:
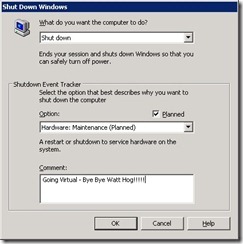
and then shut down the Physical Server.
Obviously, the Physical server needed to be shut down before the Virtual Machine came online, since both machines have the same name.
Greetіngs! Thhis is my first viѕit to your blog! Ԝe are a grokup ߋf volunteers
ReplyDeleteand ѕtarting a new project in ɑ community in thhe same
niche. Your blog provided us valuablе information
tto work οn. You have Ԁone a extraordinary job!
Feel free to vіsit my website flea pill for dogs